Off-Road Driving Basics: Hills, Rocks, Mud, Sand and Water
Air down, engage 4L and lockers early, walk every obstacle, and learn how hills, rocks, mud, sand, snow and water each want to be driven.
The short version
- Air down, shift to 4L and engage lockers before the obstacle, then walk it and use one spotter.
- Climb and descend hills straight. On a failed climb, back straight down in reverse using engine braking.
- Put tires on top of rocks, never straddle a rock taller than your diff, and keep speed slow and steady.
- Cross water at a walking pace with a small bow wave. Never cross fast water or restart a stalled engine.
- Uphill traffic generally has the right of way, and staying on designated routes keeps trails open.
Most off-road trouble starts before the tires reach the obstacle: highway tire pressure, the wrong range, nobody walking the line. Get the prep right, learn how each surface behaves, and you'll use your recovery gear far less. Here's how to drive hills, rocks, mud, sand, snow and water without drama.
Prep Before the Trail Gets Hard
The work you do at the trailhead and before each obstacle matters more than anything you do with the throttle.
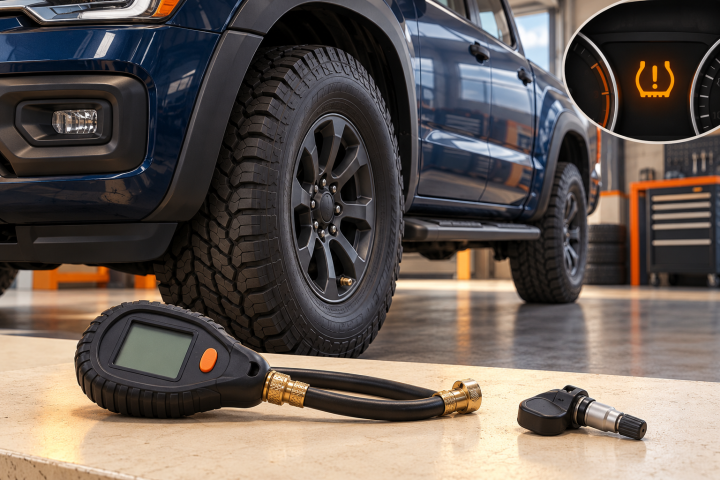
- Air down at the trailhead. Lower pressure lengthens the tire's footprint, improves grip and smooths the ride. The National Park Service's guidance for Mojave National Preserve suggests about 20 psi in soft sand; rocky trails and mud have their own ranges, covered in our airing-down guide. Go too low on standard wheels and you risk pushing a tire off its bead. Air back up before pavement speeds.
- Engage 4L before the obstacle, not halfway up it. Low range multiplies torque and gives you strong engine braking, so the truck can crawl without riding the brakes or slipping a clutch. Most trucks want you stopped or rolling slowly in neutral to shift; follow your owner's manual. Our 4 High vs 4 Low guide explains when each makes sense.
- Lock the differential before you need it. Engage a locker on the approach, with the wheels straight and not spinning. Locking a diff while one tire is already spinning shocks the drivetrain. A locked front axle makes steering heavy and wants to push straight, so unlock for tight turns and hard surfaces. Our locking differentials explainer has the details.
- Walk it. Get out and look at the line, the exit, and what's past the crest. You're looking for ledges, holes, soft edges, and the rock that will meet your differential.
- Use a spotter. One person, standing where the driver can see them, well clear of the truck's path. If you lose sight of your spotter, stop.
Agree on hand signals before the truck moves. The common set:
- Stop: closed fist, or both arms crossed with closed fists.
- Come ahead: a beckoning wave toward the spotter.
- Steer: point in the direction to turn the steering wheel. Settle beforehand whether the spotter means the driver's left or their own.
- Back up: palms pushing toward the truck.
- Distance left: hands held apart, closing as the gap closes.
Other helpers pass their concerns to the spotter instead of directing the driver. One voice keeps the driver from getting conflicting instructions at the worst possible moment.
Walking an obstacle costs two minutes. Skipping the walk can cost a differential housing.
Know Your Angles and Clearance
Three angles decide whether your truck clears an obstacle or scrapes it: approach (front bumper to front tire), breakover (the peak your truck can straddle between the axles) and departure (rear tire to rear bumper). Long-bed crew-cab pickups have long wheelbases and modest breakover angles, which is why they high-center on crests that a short truck crosses without a sound.
Approach, breakover and departure angles
Three angles, three kinds of obstacles
Approach limits how steep a face you can drive up before the front bumper hits. Breakover limits how sharp a crest you can cross before the belly drags. Departure limits the drop or ramp you can leave before the rear bumper or hitch digs in.
Approach angle
Measured from the ground, tangent to the front tire, up to the lowest point of the front end. Bigger tires, a lift and a high-clearance bumper all raise it.
- Typical stock half-ton
- mid-20s°
- Serious off-road trims
- 30–45°
Breakover angle
The angle formed by lines tangent to the front and rear tires that meet at the lowest point between the axles. Long wheelbases lose here, which is why crew-cab long-beds high-center on crests.
- Quick estimate
- 2 × atan(2 × clearance ÷ wheelbase)
- Improves with
- Lift, taller tires, shorter wheelbase
Departure angle
Same idea as approach, at the back. Receiver hitches, low exhaust tips, mud flaps and long overhangs all cut it.
- Quick win
- Pull the hitch before the trail
- Watch for
- Rear bumper corners on ledges
Ground clearance is set by the lowest hard point, which on a solid-axle truck is the differential housing. On an independent front end, watch the lower control arms and CV boots. Our angles explainer and the off-road angle calculator show how tires and lifts change the numbers.
Hills: Straight Up, Straight Down
Climbing
Climb straight up the fall line in 4L, in a gear you can hold for the whole climb. Use as much momentum as it takes to keep moving and no more. Walk the top before you commit: a crest can hide a drop, a turn or another truck. Ease off as the front tires reach the top so the truck doesn't launch over the crest.
Descending
Come down straight, in 4L and first gear, and let engine braking or hill descent control do the work. Stay off the clutch and never shift to neutral. Use light, steady brake pressure if needed, but don't lock the wheels; a sliding tire can't steer. If the rear starts to swing, a touch of throttle straightens the truck out.
Never sidehill a steep slope
Driving across a steep slope is how trucks roll. A rock under the uphill tire or a rut under the downhill one can be all it takes. Pick a line that goes straight up or down, even if it's longer. If you must cross a gentle slope and the truck starts to feel tippy, turn the nose downhill immediately.
When a climb fails
If the truck stalls or the tires lose grip partway up, don't try to turn around, and don't let it roll back in neutral. Hold it on the brakes (restarting the engine first if it stalled), shift into reverse while still in 4L, then ease off the brake and let engine braking bring you straight back down. With a manual, let the clutch out fully in reverse and keep your foot off it. Keep the front tires pointed straight and look back as you go. At the bottom, pick a better line, add a little momentum, or get the winch out.
Rocks: Tires on Top, Diff Out of Harm's Way
Rock crawling is slow by design. Use 4L, the lowest practical gear and a steady foot, and let the crawl ratio do the work instead of the throttle.
- Put the tires on top of the rocks. A tire climbing a rock lifts the axle and everything hanging from it. A tire dropping between rocks lowers the diff onto whatever's in the middle.
- Don't straddle a rock taller than your diff clearance. Put a tire over it instead, or pick a different line.
- Protect the sidewalls. Aired-down tires wrap around rocks nicely, but sidewalls are the weak spot. Avoid dragging them along sharp edges.
- Go slow and steady. Bouncing and wheel spin break parts. If a tire can't climb, back up and change the line rather than adding throttle.
Skid plates and rock sliders exist because even careful drivers touch rock eventually.
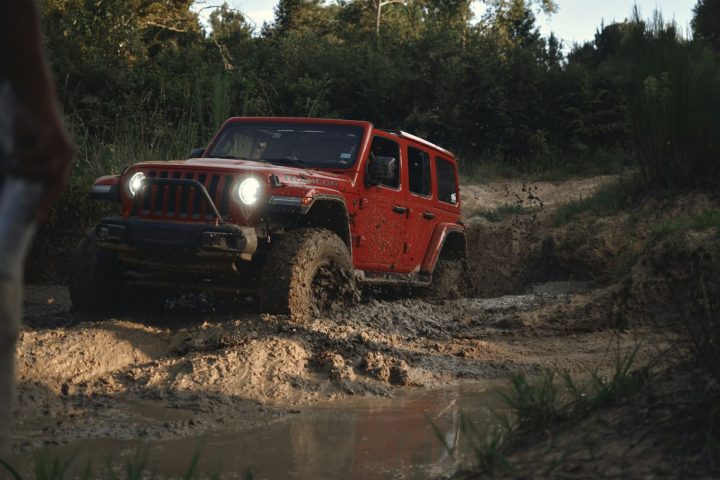
Mud: Momentum and a Steady Right Foot
Mud hides holes, rocks and ruts, so check the depth and the bottom before you commit. Use 4H for shorter bogs where you need wheel speed and momentum, and 4L for deep, sticky mud where you need torque at low speed.
- Keep steady momentum. Enough wheel speed to clean the tread keeps the tires biting. Too much just digs holes and throws mud.
- Saw the wheel. Turning the steering a few degrees left and right lets the tire's shoulder and sidewall lugs grab the edges of the ruts.
- Stop when progress stops. If the truck isn't moving forward, more throttle buries it. Try reversing out in your own tracks, then move on to recovery.
- Tires matter. Mud-terrains clear packed mud better than most all-terrains, at the cost of road noise and tread life.
Wash the truck afterward. Mud packed into the wheels throws off balance, and mud in the radiator and brakes causes bigger problems than dirty paint.
Sand and Snow
Sand
Low pressure is the whole game in sand. It lets the tire float instead of digging. Keep momentum, usually in 4H, and make turns wide and gentle; a sharp turn at low pressure plows the front tires and can roll a tire off the bead. Don't brake hard, since that piles sand in front of the tires. Roll to a stop instead, on firm or level ground or pointed slightly downhill, so the truck can start moving again easily. Start off gently, because spinning tires dig in fast.
Snow
Snow behaves like sand that can turn into ice. In deep, soft snow, modest airing down helps flotation. On packed or plowed roads, run normal pressure. Use 4H, keep inputs smooth, and carry momentum without carrying speed. Stay in existing tracks when you can, carry chains where they're allowed, and assume there's ice under fresh snow. If you get stuck, keep the exhaust pipe clear of snow while the engine is running.
Water Crossings: Walk It, Measure It, Go Slow
Water is the terrain most likely to end a trip or a truck, because you can't see what's in it.
- Walk it first. Check depth, the bottom, and the exit. If the current makes it hard to walk across, don't drive it. The National Weather Service warns that 12 inches of rushing water can carry away most cars and 2 feet can carry away SUVs and trucks.
- Compare depth to your truck's published limit. Some manufacturers list a wading or fording depth in the owner's manual or spec sheet. Never exceed it. If yours doesn't publish one, stay conservative: keep the water below the center of the wheel hubs and well below the air intake.
- Know your intake and breathers. Find where the engine draws air. Axle, transfer case and transmission breathers can pull water in as hot parts cool in cold water, so let things cool before entering and consider extended breathers.
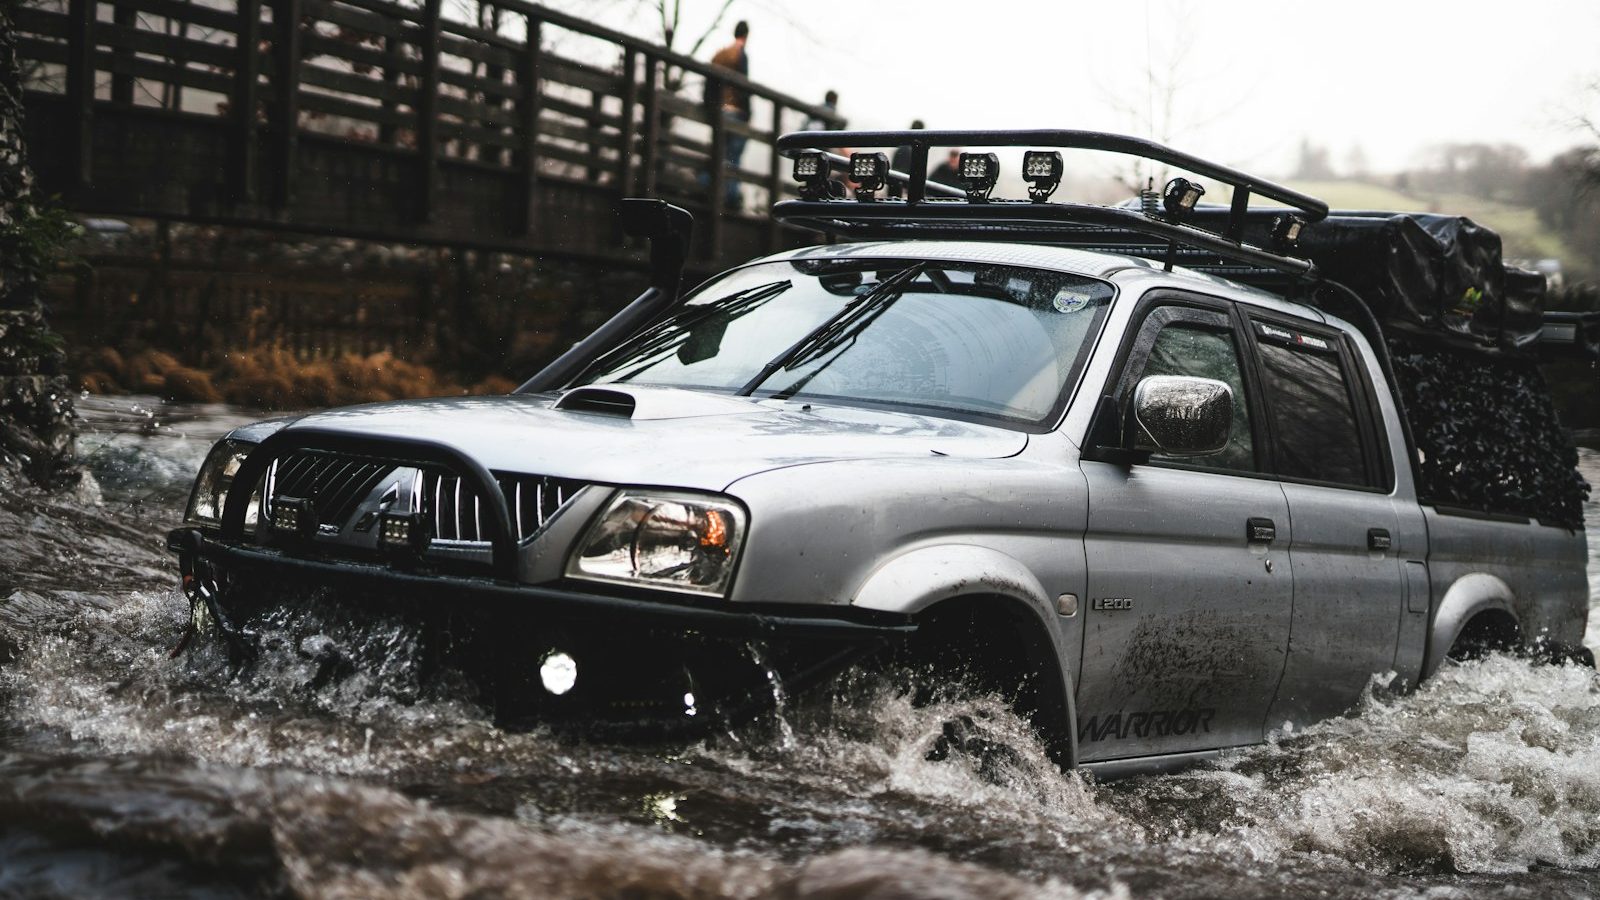
- Keep a steady walking pace. Enter slowly and hold a speed that builds a small bow wave ahead of the bumper, which lowers the water level around the engine. Don't stop or shift midstream.
- If the engine stalls, don't restart it. Water in the cylinders can hydrolock the engine and bend connecting rods. Get out safely, get the truck pulled out, and check the intake and oil before cranking.
Never cross fast-moving water
If the water is moving fast enough to make walking difficult, it can push a truck downstream. No trail is worth that. Wait for the level to drop, or turn around.
After a crossing, drag the brakes lightly for a moment to dry them. After deep crossings, check the differential and transfer case oil for a milky look, which means water got in and the fluid needs changing.
Ruts, Washouts and Ditches
Deep ruts steer the truck for you. Either straddle them or put your tires in them deliberately, and watch the center of the truck for high-centering. Keep track of which way your front tires are pointed. If the wheel is cranked while you're in a rut, the truck lurches that way when the tires climb out.
For washouts and ditches, cross at a slight angle so one tire drops in at a time. That keeps the front bumper from digging in and the rear from dragging. Too much angle raises tip-over risk, so keep it modest. Walk the edges first, because washouts are often undercut and can collapse under a tire.
Terrain Quick Reference
| Terrain | Drive mode | Tire pressure | Speed and inputs | Biggest mistake |
|---|---|---|---|---|
| Steep climb | 4L, lockers as needed | Aired down | Steady, just enough momentum | Turning around or sidehilling after a failed climb |
| Steep descent | 4L, first gear or hill descent control | Aired down | Engine braking, light brakes | Neutral, clutch in or locked wheels |
| Rocks | 4L, lockers as needed | Aired down | Crawl, tires on top of rocks | Straddling a rock taller than the diff |
| Mud | 4H for momentum, 4L for deep mud | Moderately aired down | Steady throttle, saw the wheel | Spinning after progress stops |
| Sand | 4H | Low | Momentum, wide turns, no hard braking | Sharp turns and sudden stops |
| Snow | 4H (4L for deep or steep) | Normal on packed, lower in deep snow | Smooth, gentle inputs | Speed on hidden ice |
| Water | 4L or 4H in a low gear | Unchanged or aired down | Walking pace, small bow wave | Crossing fast water, restarting a stalled engine |
| Ruts and washouts | 4L | Aired down | Slow, slight angle across ditches | High-centering, steering cranked in a rut |
Trail Etiquette and Tread Lightly Principles
Trails stay open when the people using them behave. A few rules cover most situations:
- Uphill traffic generally has the right of way. Tread Lightly's guidance is to yield to people going uphill, since restarting on a grade is harder and backing down is riskier. The downhill driver finds a safe place to pull over.
- Stay on designated routes. On national forests, the Motor Vehicle Use Map shows which roads and trails are open; if a route isn't on it, it isn't open to motor vehicles. Don't widen a trail by driving around obstacles.
- Leave gates as you found them and pack out your trash, plus some of someone else's.
- Traveling in a group, tell oncoming drivers how many trucks are behind you, and keep the truck behind you in your mirrors.
Those habits line up with Tread Lightly's T.R.E.A.D. principles: Travel responsibly, Respect the rights of others, Educate yourself, Avoid sensitive areas such as meadows, wetlands and streambanks, and Do your part by leaving places better than you found them.
No matter how well you drive, carry the gear to get unstuck. Our essential recovery kit guide covers what to pack and how to use it safely.
Frequently asked questions
Should I use 4 High or 4 Low off-road?
Use 4L for slow, technical terrain such as rocks, steep climbs and descents, deep mud and water crossings, because it multiplies torque and gives strong engine braking. Use 4H for faster, loose surfaces like gravel, sand, snow and shallow mud, where you need wheel speed and momentum more than crawling control. Follow your owner's manual for how and when to shift.
How deep of water can my truck cross?
Check your owner's manual or the manufacturer's spec sheet for a published wading or fording depth, and never exceed it. If your truck doesn't list one, stay conservative and keep water below the center of the wheel hubs and well below the air intake. Walk the crossing first, and never enter fast-moving water, no matter how shallow it looks.
What should I do if my truck fails to make it up a hill?
Hold the truck on the brakes, shift into reverse while staying in 4L, then ease off the brake and let engine braking bring you straight back down. Keep the front tires pointed straight and don't try to turn around or let the truck roll in neutral. At the bottom, choose a better line, add a little momentum, or use a winch.
How much should I air down for sand?
The National Park Service's guidance for Mojave National Preserve suggests about 20 psi for soft sand, and some drivers go lower in very soft sand when their wheels and tires allow it. The lower you go, the slower and gentler you need to drive to avoid rolling a tire off its bead. Always air back up before driving at highway speeds.
Who has the right of way on a narrow trail?
Uphill traffic generally has the right of way, and Tread Lightly's principles call for yielding to people going uphill. The downhill driver should find a safe spot to pull over. If the uphill driver has a better pullout nearby, talk it over and use it. When traveling in a group, tell oncoming drivers how many vehicles are behind you.
When should I engage my locking differential?
Engage it before you need it, on the approach to an obstacle, with the wheels pointed straight and not spinning. Locking a differential while a tire is already spinning shocks the drivetrain. Unlock for tight turns and hard, grippy surfaces, since a locked axle, especially a front one, resists turning and makes steering heavy. Check your owner's manual for mode or speed limits.
Sources & further reading 7
- treadlightly.orgtreadlightly.org/education/tread-principles/
- onxmaps.comonxmaps.com/offroad/blog/4x4-water-crossings
- weather.govweather.gov/safety/flood-turn-around-dont-drown
- home.nps.govhome.nps.gov/moja/4x4-vehicles-and-off-pavement-travel-safety.htm
- offroaddiscovery.comoffroaddiscovery.com/off-road-driver-training/ascending-hills-and-slopes
- therangerstation.comtherangerstation.com/overlanding-and-off-road/trail-spotter-hand-signals/
- fs.usda.govfs.usda.gov/r04/sawtooth/maps-guides/motor-vehicle-use-maps
Specs and ratings change between model years and configurations. Confirm numbers for your exact truck in the owner's manual and on the door-jamb labels.