Airing Down Off-Road: Truck Tire Pressure Guide by Terrain
Why lower pressure works off-road, conservative starting pressures for rock, dirt, mud, sand and snow, and how to air down and back up without wrecking a tire.
The short version
- Lower pressure lengthens the footprint, lets sidewalls wrap rocks and smooths washboard.
- Start conservative: about 25–30 psi on dirt and 15–20 psi on rocks for LT tires on a midsize or half-ton.
- Heavier trucks need more air; a loaded 3/4-ton should start around 25–30 psi on trails.
- Without beadlocks, low pressure plus side loads can unseat a bead; single digits need beadlocks.
- Keep speeds low while aired down, expect the TPMS light, and air up before you touch pavement.
Letting air out of your tires is the cheapest traction upgrade in off-roading and one of the easiest to get wrong. Done right, it lengthens the footprint, smooths the ride and helps protect the tire. Done carelessly, it rolls a bead off the rim on the trail or cooks a sidewall on the drive home.
Why Airing Down Works
A tire at highway pressure is stiff by design. It holds its shape so the truck steers precisely and the tire runs cool at speed. Off-road, that stiffness works against you. Dropping pressure changes four things.
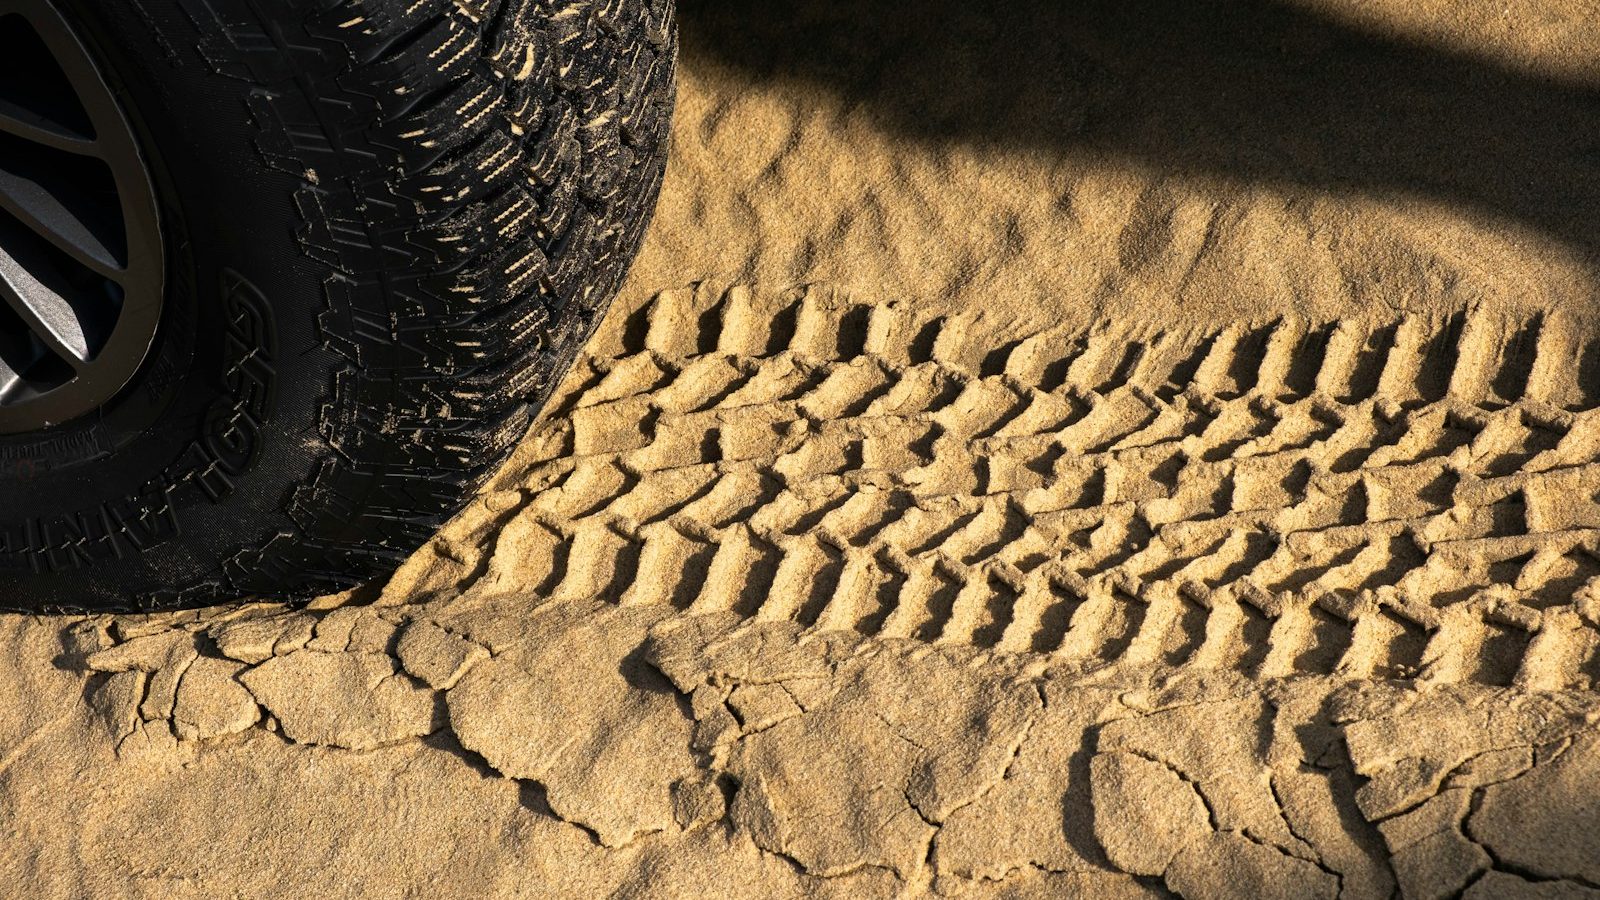
- A longer footprint. With less air holding it round, the tire flattens where it meets the ground. The contact patch grows mostly in length, so more lugs are touching the surface at once. On sand and snow the same weight spreads over more area, which keeps the tire on top instead of digging in.
- Sidewall flex. A softer tire wraps around rocks and ledges instead of balancing on them. That means more rubber gripping, fewer abrupt hits and less of the truck being tossed side to side.
- A better ride. The tire becomes part of the suspension. On washboard, it soaks up the high-frequency chatter that would otherwise rattle through the frame, and a tire that stays planted instead of skipping is easier to control.
- Puncture resistance. A hard tire meeting a sharp rock has nowhere to go, so the rock pushes into the tread. A softer tire tends to deform around it instead. The trade-off is that a bulging sidewall sticks out farther and is more exposed, which is why line choice still matters.
Starting Tire Pressures by Terrain
These are conservative starting points for LT tires on stock wheels without beadlocks, measured at the trailhead before the tires heat up. They're where you begin, not where you have to end up. Drop in 2 to 3 psi steps until the truck does what you need, and stop there.
| Terrain | Midsize and half-ton | 3/4-ton and 1-ton (Load Range E) | What you're after |
|---|---|---|---|
| Dirt, gravel, washboard | 25–30 psi | 35–45 psi | Smoother ride, less chatter, fewer rock chips and cuts |
| Rocky trail | 15–20 psi | 25–30 psi | Tire wraps rocks, fewer hard hits, more grip on ledges |
| Mud | 18–22 psi | 25–30 psi | Longer footprint while keeping sidewalls and beads protected |
| Sand | 15–18 psi | 25–30 psi | Flotation; the biggest footprint you can safely run |
| Snow (deep, unplowed) | 15–20 psi | 25–30 psi | Flotation on top of the snow instead of digging down |
A few notes on the table. In soft sand, a light truck that's still bogging down can go a few psi lower, down toward 12 psi, at walking pace, and a heavy truck may need a few psi under its range too. In mud, going very low helps less than it does in sand, and it exposes more sidewall to hidden rocks and stumps, so momentum and tread do more of the work there. On plowed or packed snow roads, stay at or near your normal street pressure; airing down is for deep, unplowed snow.
Plenty of experienced drivers run lower than this table, and plenty of tire makers want you higher. BFGoodrich's own 4x4 tips advise against dropping below 20 psi. When in doubt, start at the higher number. You can always let out more air, but putting it back takes a compressor.
How Truck Weight, Tire Construction and Load Range Change the Numbers
Vehicle weight
Air pressure is what carries the load. A heavier truck needs more air in each tire to hold the same shape, so the right trail pressure goes up with weight. One published chart from OVR Mag suggests roughly 18–22 psi for trail driving in a 5,500-lb midsize truck and 30–35 psi for a heavy-duty truck at 8,000 lb or more. A diesel 3/4-ton with a loaded bed should never copy the pressure a stripped-down midsize runs on the same trail.
Weight isn't only curb weight. A camper shell, drawer system, fridge, water and fuel cans can load the rear axle heavily, and a rear tire carrying that load needs more air than the front. It's normal to run the rear a few psi higher than the front on a loaded overland build.
Tire construction
LT tires, with their heavier casings and thicker sidewalls, tolerate low pressure far better than P-metric tires. If your truck still has passenger-rated tires, stay at the high end of the ranges above or higher, and go slowly. For what the letters on your sidewall mean, see our guide to reading a tire size.
Load range and tire size
Load range changes how the tire responds to a given pressure. An E-range tire's stiffer sidewall may need a bigger drop to get the same bulge a C-range tire shows at a higher number. That's why the bulge matters more than the number: on flat ground, you want a visible but moderate sidewall bulge, not a tire that looks flat.
Tire size matters too. A larger tire holds more air, and more air volume carries the same load at a lower pressure. A 35-inch tire on a light truck can usually run lower than a stock 31-inch tire on the same truck. For more on how tire types behave aired down, see our all-terrain vs. mud-terrain comparison.
Bead Unseating and When Beadlocks Matter
On a normal wheel, air pressure is what holds the tire's bead tight against the rim. Lower that pressure and a strong enough side load can push the bead off its seat. The usual triggers are sharp turns at low pressure, sidehill angles, sliding sideways into a rock or rut, and turning hard while a tire is loaded against an obstacle. When the bead breaks, the tire deflates almost instantly, and mud or sand can get between the bead and rim.
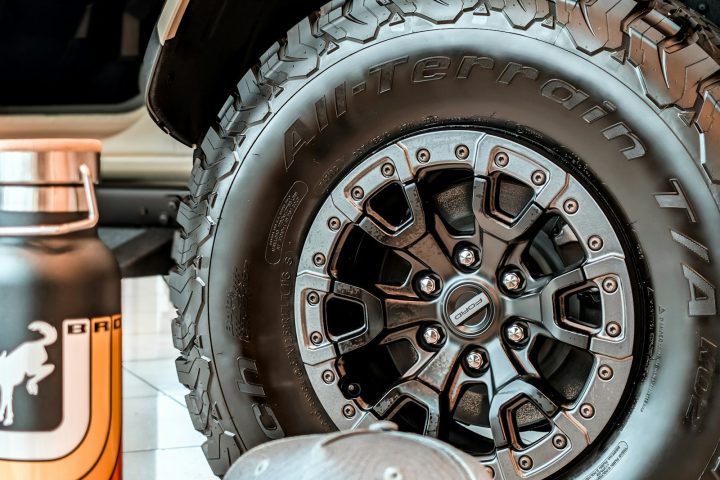
Beadlocks solve that by clamping the bead mechanically. A true beadlock wheel uses an outer ring bolted to the wheel with the bead sandwiched between them, so the tire stays on even at single-digit pressures. MetalCloak's airing-down guide cites pressures as low as 4 psi on beadlocks. The costs are real: more weight, more money, and a ring full of bolts that must be checked and torqued to the wheel maker's spec on a regular schedule. Check the wheel maker's rating before driving beadlocks on the street, since many are sold for off-highway use. Internal beadlocks, which use an inflatable inner ring with its own valve to press the beads outward, are another route. Simulated beadlocks are cosmetic and clamp nothing.
Here's the dividing line. If you run trails at the pressures in the table above, stock wheels are fine for most people. If you want to run single digits for rock crawling or very soft sand, that's beadlock territory.
Reseating a bead safely
If a bead comes off on the trail, the safest fix is usually to mount the spare. If you do reseat it, clean the bead and rim, lubricate the bead, stand clear of the tire and never exceed 40 psi to seat a bead unless the tire maker specifies otherwise. Don't use flammable sprays to pop a bead on. If it won't seat at that pressure, put the spare on and deal with it at a shop.
Tools for Airing Down and Airing Back Up
Gauges and deflators
- A quality tire gauge. A dial or digital gauge with a bleed button lets you check and fine-tune in one step. Check it against a second gauge now and then, since a few psi of error matters more at 18 psi than at 45.
- Screw-on automatic deflators. You set them to a target pressure, thread one onto each valve stem, and they release air until the tire reaches that pressure, then close. They let you air down all four tires at once. Confirm the result with your gauge, and keep them clean, since grit can keep them from sealing.
- Rapid deflators. These pull the valve core out through a sealed chamber and dump air through the full stem opening, usually with a built-in gauge. They're the fastest option, one tire at a time. Carry spare valve cores and a core tool anyway.
Thread anything that goes on a valve stem on by hand. TPMS valve stems, especially aluminum ones, don't take kindly to bending or overtightening.
Compressors and CO2
- Onboard compressors are hard-mounted and wired to the battery with a fuse and relay. They're always there, they often handle longer run times, and some can run air tools.
- Portable compressors clamp to the battery and live in a bag. Look at two specs: duty cycle, meaning how long it can run before it needs to cool down, and airflow measured at a working pressure, not at zero psi. Run the engine while you air up to keep voltage up.
- CO2 systems are fast and quiet and don't draw on the battery. They need a regulator, periodic refills, and a solid mount. A loose pressurized cylinder in the cab is a hazard.
Whatever you choose, pack it with a plug kit and spare valve caps. Our recovery gear guide covers the rest of the kit that should ride along.
How to Air Down, Step by Step
- Stop before the terrain changes. Pull over on level ground at the trailhead, off the road and out of traffic, before the rocks or sand start.
- Check your starting pressures. Note what each tire reads. You'll want those numbers again when you air back up.
- Pick a target. Use the terrain table, then adjust for your truck's weight, tire construction and load range. Start at the conservative end.
- Deflate all four. Use screw-on deflators or a rapid deflator. Keep the valve caps somewhere you won't lose them.
- Verify with a gauge. Get each tire within about a psi of target, with the rear a little higher if it's carrying most of the load.
- Look at the tires. Expect a moderate sidewall bulge on flat ground. If one tire looks much flatter than the others, recheck it.
- Drive, then adjust. If the ride is still harsh or traction is poor, drop another 2 to 3 psi. If the tires feel vague or squirm in turns, add some back.
- Recheck at stops. Look for cuts, bulges and slow leaks, and remember warm tires read higher than they did at the trailhead.
How you drive matters as much as pressure. Pick lines that keep sidewalls off sharp rock, avoid hard turns at low pressure, and choose the right range for the terrain. Our guides to off-road driving basics and 4-High vs. 4-Low cover the technique side.
TPMS Warnings, Heat and Speed Limits While Aired Down
Expect the tire pressure warning light to come on. Federal rules require the system to warn the driver within 20 minutes once a tire drops 25 percent below the vehicle maker's recommended cold pressure (or below a minimum activation pressure, whichever is higher). Any meaningful air-down will trip it. If your owner's manual describes an off-road or adjustable TPMS setting, use it as described there. Otherwise, the light stays on until you air up. The catch is that with the light already on, it can't warn you about a real puncture, so check your tires with a gauge and your eyes at every stop.
Heat changes the numbers too. Tire pressure moves about 2 percent for every 10°F change in temperature, and a tire flexing on the trail warms up. A tire set to 18 psi cold will read a bit higher after an hour of driving. Don't chase that rise by letting air out.
Speed is where aired-down tires get hurt. A soft tire flexes more with every revolution, and flexing makes heat. Heat is what separates plies and destroys sidewalls, often without visible warning. BFGoodrich's 4x4 guidance puts the ceiling at about 15 mph (25 km/h) at 20 psi.
Never drive on pavement aired down
Aired-down tires are for trail speeds only. The lower the pressure, the slower you go. Do not drive on paved roads or highways at trail pressures. Steering response, braking stability and sidewall heat all suffer, and a tire that's overheated can fail later even after you air it back up.
The lower the pressure, the lower the speed. Every mile of pavement starts with airing back up.
Airing Back Up Before Pavement
Air up where the trail ends, before you drive on pavement. If you don't have a compressor, BFGoodrich's guidance is to drive very slowly and only a short distance to the nearest air, so the tires don't overheat. That's a good reason to never leave home without one.
- Air up to street pressure. That's your door-placard number, or the pressure you've worked out from the tire maker's load tables if you've changed tire size or type.
- Allow for heat. Your tires will be warm, and pressure set hot reads low once the tires cool. Airing warm tires a couple of psi above your target, without ever exceeding the sidewall maximum, and rechecking cold the next morning keeps you from running low.
- Inspect as you go. Look over every tread and sidewall for cuts, bulges and exposed cords, check the bead area and valve stems, and put the caps back on.
- Clear the warning light. Some trucks clear the TPMS light after a short drive once pressures are back up, and others need a reset. Your owner's manual has the procedure.
If a tire came off the bead, ran nearly flat or was driven fast while aired down, have a tire shop inspect it from the inside before you trust it at highway speed. Internal damage doesn't always show from the outside. For trucks that live on the trail for days at a time, our overlanding build plan covers compressors and tire strategy for longer trips.
Frequently asked questions
How much should I air down for off-roading?
It depends on terrain and weight. For LT tires on a midsize or half-ton without beadlocks, sensible starting points are 25 to 30 psi on dirt and washboard, 15 to 20 psi on rocks, 18 to 22 psi in mud, and 15 to 18 psi in sand. Heavy-duty trucks should start higher, around 25 to 30 psi on trails. Adjust in small steps.
Can I drive on the highway with aired-down tires?
No. Aired-down tires flex much more with each revolution, which builds heat quickly at speed and can damage the sidewall or cause a failure later. Steering and braking also suffer. Keep speeds low on the trail and air back up to your street pressure before you drive on pavement. If you have no compressor, drive slowly to the nearest air.
Will airing down damage my tires?
Not if you do it sensibly. Staying within conservative ranges, keeping speeds low and airing up before pavement protects the tire. Damage comes from going too low without beadlocks, which risks unseating the bead, from exposing bulging sidewalls to sharp rocks, and from driving fast while aired down, which overheats the casing.
Do I need beadlocks to air down?
Not for typical trail pressures. Most LT tires on stock wheels handle pressures in the high teens and low 20s fine if you avoid hard turns and sidehill slides. Beadlocks make sense if you want to run single-digit pressures for rock crawling or soft sand. Check the wheel maker's highway rating before driving beadlocks on the street.
Why is my TPMS light on after airing down?
Federal rules require the tire pressure monitoring system to warn you when a tire drops 25 percent below the recommended cold pressure, and any real air-down goes past that. The light will stay on until you air up. Because it can no longer warn you about a puncture, check your tires with a gauge at stops.
Sources & further reading 8
- mena.bfgoodrich.commena.bfgoodrich.com/auto/help-and-advice/faq-4wd-tips
- ovrmag.comovrmag.com/start-here/how-low-can-you-go-trail-tire-pressure-explained/998.article
- metalcloak.commetalcloak.com/blog/airing-down-101
- ecfr.govecfr.gov/current/title-49/subtitle-B/chapter-V/part-571/subpart-B/section-571.138
- tirerack.comtirerack.com/upgrade-garage/how-does-temperature-change-affect-tire-air-pressure
- toyotires.comtoyotires.com/safety-info/
- nhtsa.govnhtsa.gov/equipment/tires
- en.wikipedia.orgen.wikipedia.org/wiki/Beadlock
Specs and ratings change between model years and configurations. Confirm numbers for your exact truck in the owner's manual and on the door-jamb labels.